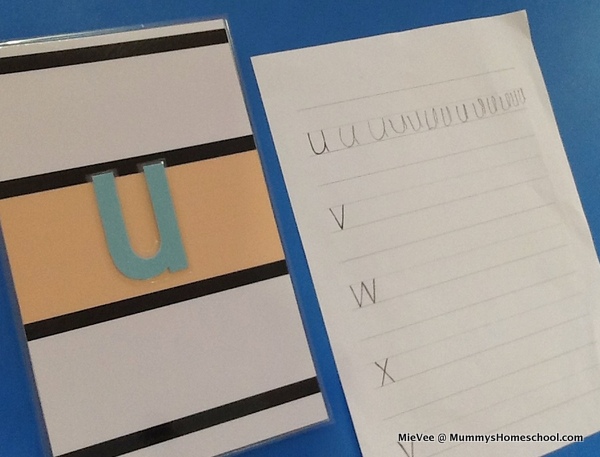
Here’s a short post on the Montessori method of teaching a child to write on a line…
Some time back, I let Vee practise writing on lined paper, but his letters were “jumping” all over the place. So I went back to Karen Tyler’s Language album to use the presentation on Line Placement (on page 470).
Her method for making the line placement board required quite a number of materials, so I simplified it by creating a template according to the dimensions provided.
Steps to making the Line Placement Board:
- Download the template: Montessori Language Writing Line Placement Board (PDF, 25kb)
- Print the file
- Stick it onto thick A4 cardstock (I use Art Card)
- Cut and laminate
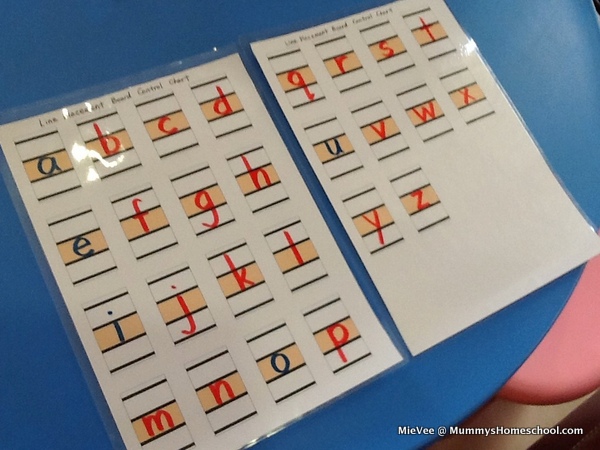
I also created a Control Chart so that the child can check his work.
- Download the template: Montessori Language Writing Line Placement Board Control Chart (PDF, 20kb)
- Print the file (setting: 12 pages on 1 sheet)
- Write the letters “a” to “z” at the correct placement. Use the font and colours consistent with your Language materials.
- Laminate
In addition, you’d need to make the letters to be placed on the board (refer to pages 472 to 475):
- I printed the letters on A4 adhesive labels
- Cut them out, leaving a border around each letter
- Stick them onto vanguard sheet (or manila paper) – for us, it’s blue for vowels; pink for consonants
- Cut each letter out
- Laminate
- Cut each letter out
Below is a picture of the line placement board with the letter “u” placed on it. On the right, Vee tried writing “u” on a lined paper after practising with the line placement board. Significant improvement!

And this is what the Control Chart looks like:
Hope you’d find this resource helpful… 🙂
—
P.S. Download other Montessori printables at our Resources page here.


If I have those during my kindy days (some 40 years ago ??), I wouldn’t end up writing like a doctor 🙂
Ha… there must be doctors with neat handwriting. 🙂